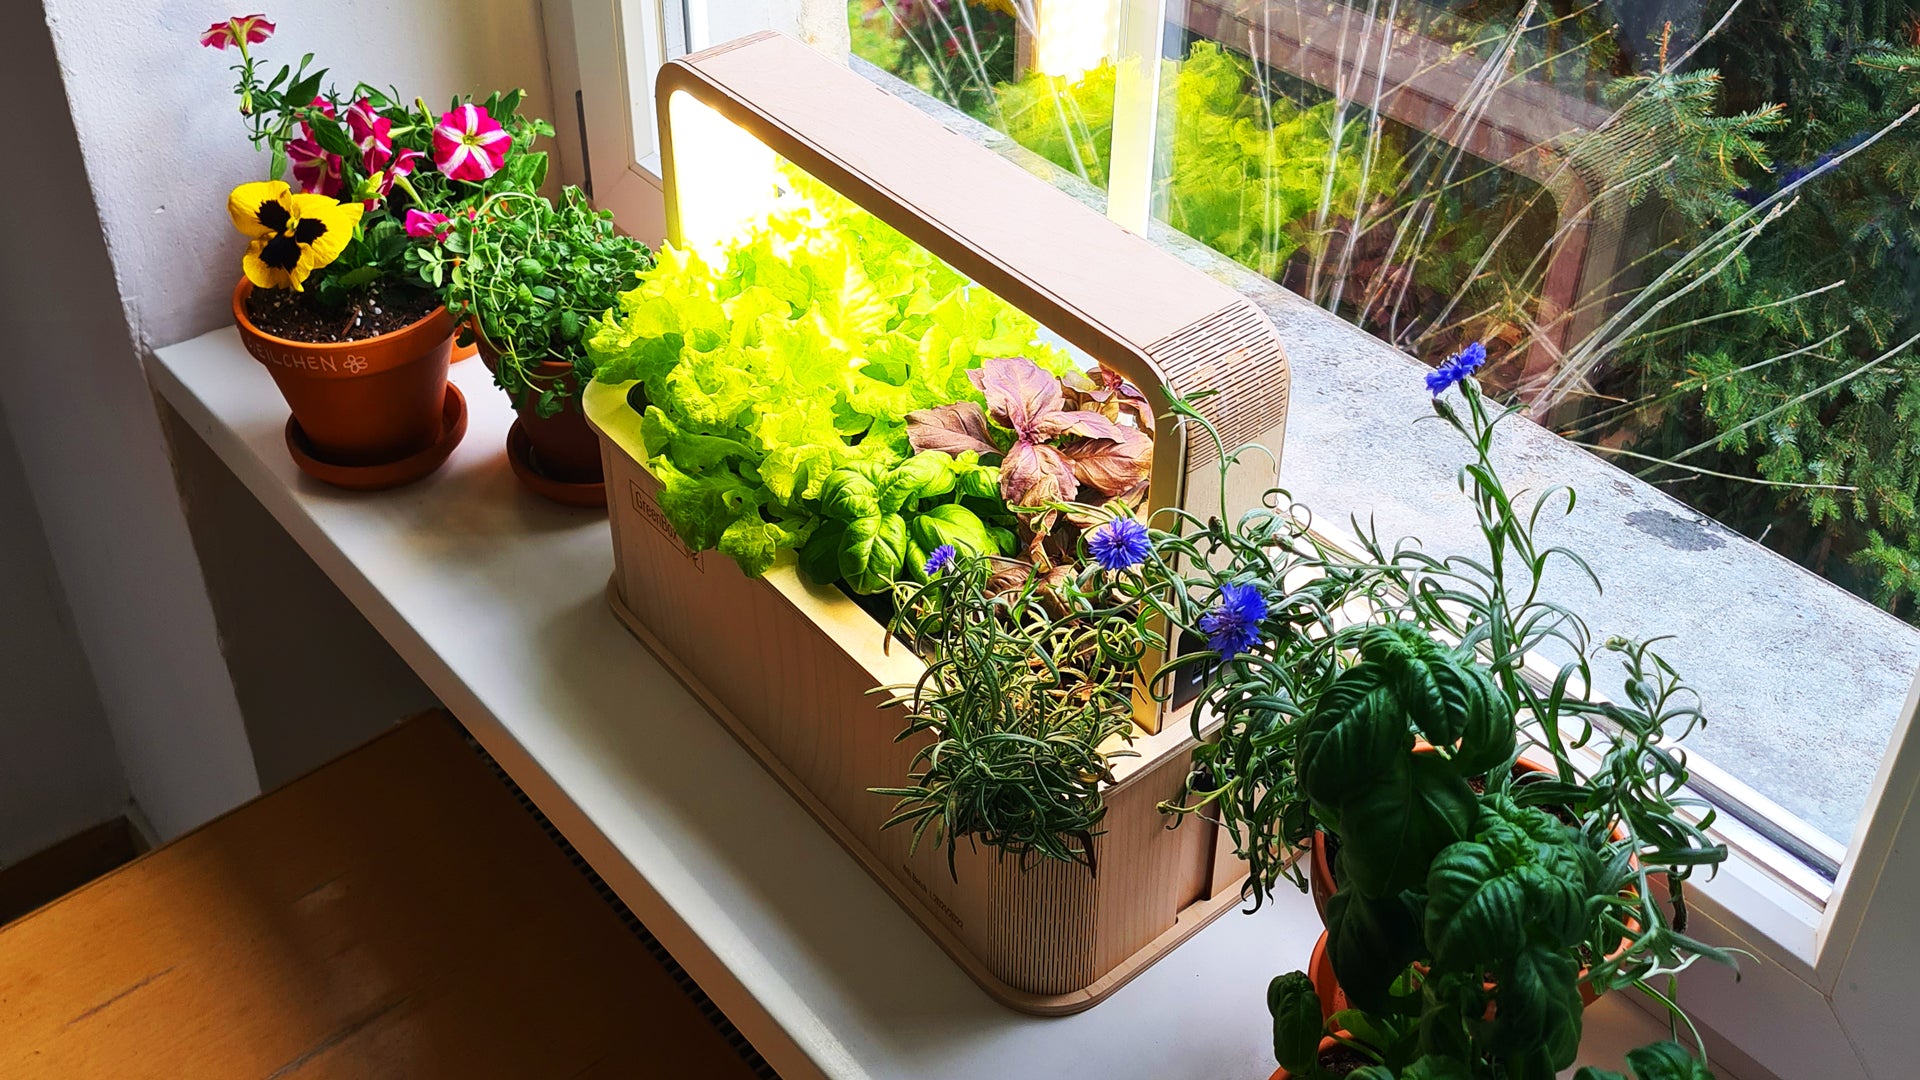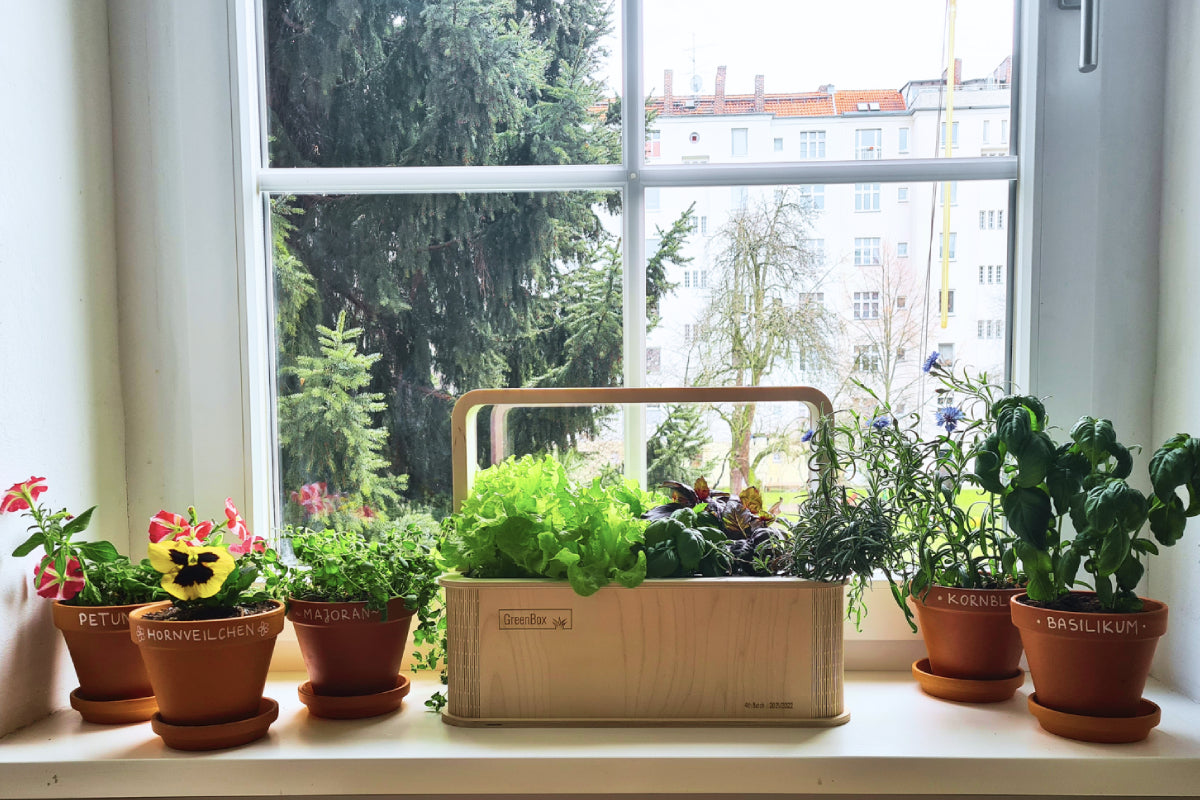
Ready for Spring with the GreenBox – What to Do with All the Plants?
If you already use our GreenBox, you will have noticed that it is ideal as an incubator, i.e. as a growing box. This happens almost automatically.
If you don't eat your entire harvest straight away and are in the mood for new plants, you will inevitably ask yourself where to put your seedlings.
So that you can enjoy your plants for a long time to come: Here are a few tips on how to get them out of the GreenBox and onto your windowsill, balcony or garden in the best possible way.

Why is repotting important
Plants are constantly growing and therefore need more space, nutrients and water. If they remain in a pot that is too small, they cannot grow and develop properly. This can lead to a variety of problems, such as root rot, poor aeration and even death of the plant. These problems can be avoided by regular repotting and the plants can grow healthy and strong.
These problems are actually not that relevant for the plants in the GreenBox, it's more about making room for new things.
When should you repot a plant?
There are several signs that a plant should be repotted. If the roots are growing out of the pot or the plant is growing very slowly, it's time for a new home. Another option is to turn the pot upside down and check whether the roots cover the entire soil. If so, the plant should be repotted.
With the GreenBox, this is indicated by a very well rooted PlantPlug.
This can look like this:


This is our Ornamental Chili, you may have seen in our Instagram story how we repotted it into one of our PlantPots. The Ornamental Chili is a small-growing type of chili that is very suitable for the GreenBox.
In the picture you can see the roots of the chili as they look in a healthy state! So the chili can remain in the GreenBox or, if you fancy something new, can be transplanted into a pot.
How to choose the right pot
The pot should be large enough to give the plant enough room to grow, but not so large that the plant gets lost in a sea of soil. A good guideline is a pot about 20% larger than the old one. Also make sure that the new pot has holes in the bottom so that excess water can drain off.
Since our PlantPlugs are uniform in size, our PlantPots, which have an inner diameter of 12 cm, are perfect for them.
How do you prepare the plant for repotting?
Before the plant is repotted, it should be sufficiently watered. This makes it easier to remove the plant from the old pot and reduces stress for the plant.
This is a given with our GreenBox anyway, as our plants grow in water without a substrate.
If the plant is a little more difficult to detach (usually a sign of good rooting, so very positive), our PlantPlug inserts have holes at the bottom. Carefully help the unruly plant to leave the GreenBox with your finger.

How to carry out repotting
First, the old pot should be carefully turned over to remove the plant. Then the soil should be removed from the roots to check the condition of the roots and remove any damaged roots.
In our case, as already mentioned, simply remove the U-plate and carefully pull the plant out of the PlantPlug inserts. To protect the plant, you can press it from below with your finger. This will prevent you from accidentally tearing the plant off at the root neck.
The new pot should be filled with fresh soil; ourpeat-free soil is ideal for this. The soil has sufficient nutrients for the first six weeks after repotting and has good drainage properties.
If you use our PlantPots, don't forget to insert the filter paper before filling with soil. This allows water to escape, but prevents the soil from escaping.
Then place the plant in the new pot and make sure that the plant is deep enough so that you can cover the PlantPlug with a light layer of soil.
To avoid air pockets, you can gently press the soil to the side of the PlantPlug with your fingers.
How to care for the plant after repotting
After repotting, the plant should be watered sufficiently to moisten the soil and strengthen the roots.
When watering for the first time directly after repotting, it is advisable to simply hold the entire pot under running water (be careful not to overpressurize the water). Then simply let the water run until it drips out of the bottom of the pot. Then you can drain the pot briefly - and put it in the saucer!
Avoid overwatering in the future, as this can lead to root rot. The general rule for watering is: it is better to water once and not so often. This rule can also be applied to fertilizing and is one of the ten golden rules for fertilizing - more on this in a separate entry.
Place the plant in a place where it receives sufficient light but is protected from direct sunlight. Depending on the type of plant, it may also be useful to shade it slightly in the first few days after repotting to reduce stress.
Here is our chili at her new home:

Over the next few weeks, you should check the plant regularly to ensure that it is being watered sufficiently and that there are no pests or diseases. After a few weeks, the plant should be well rooted in its new pot and growing normally again. So your plant has been repotted successfully, congratulations!
In summary, repotting is an important measure to promote the growth and health of plants. It is important to choose the right time, select the right pot and carefully prepare and care for the plant. With a little care and attention, repotting can help keep your plants healthy and happy. Would you like to find out more aboutgrowing seedlings ? Then enjoy reading on!
But when is the right time to put my plant outside?
In our latitudes, this is usually after the last frost. Perhaps some of you are familiar with the "ice saints". The ice saints, also known as May frosts, include several name days of Christian saints in May, on which - according to various regional farming rules - the last frosty nights of spring are possible.
It's best to find out about the plants you want to put outside. There are big differences here in terms of resistance.
Welcome to the jungle...

Special offer*: If you buy a GreenBox Urban Jungle Bundle , you will automatically get 1 additional PlantPots set for free - without any codes during the promotion period.
👉 https://berlingreen.com/products/greenbox-urban-jungle-bundle
Would you like some more? If you buy PlantPots sets, you can buy 2 and get 1 for free . In this case, remember to add 3 PlantPots sets to your cart and apply the promo code HELLOSPRING before purchasing :)
*This promotion is valid until the end of March.