Endless green fun
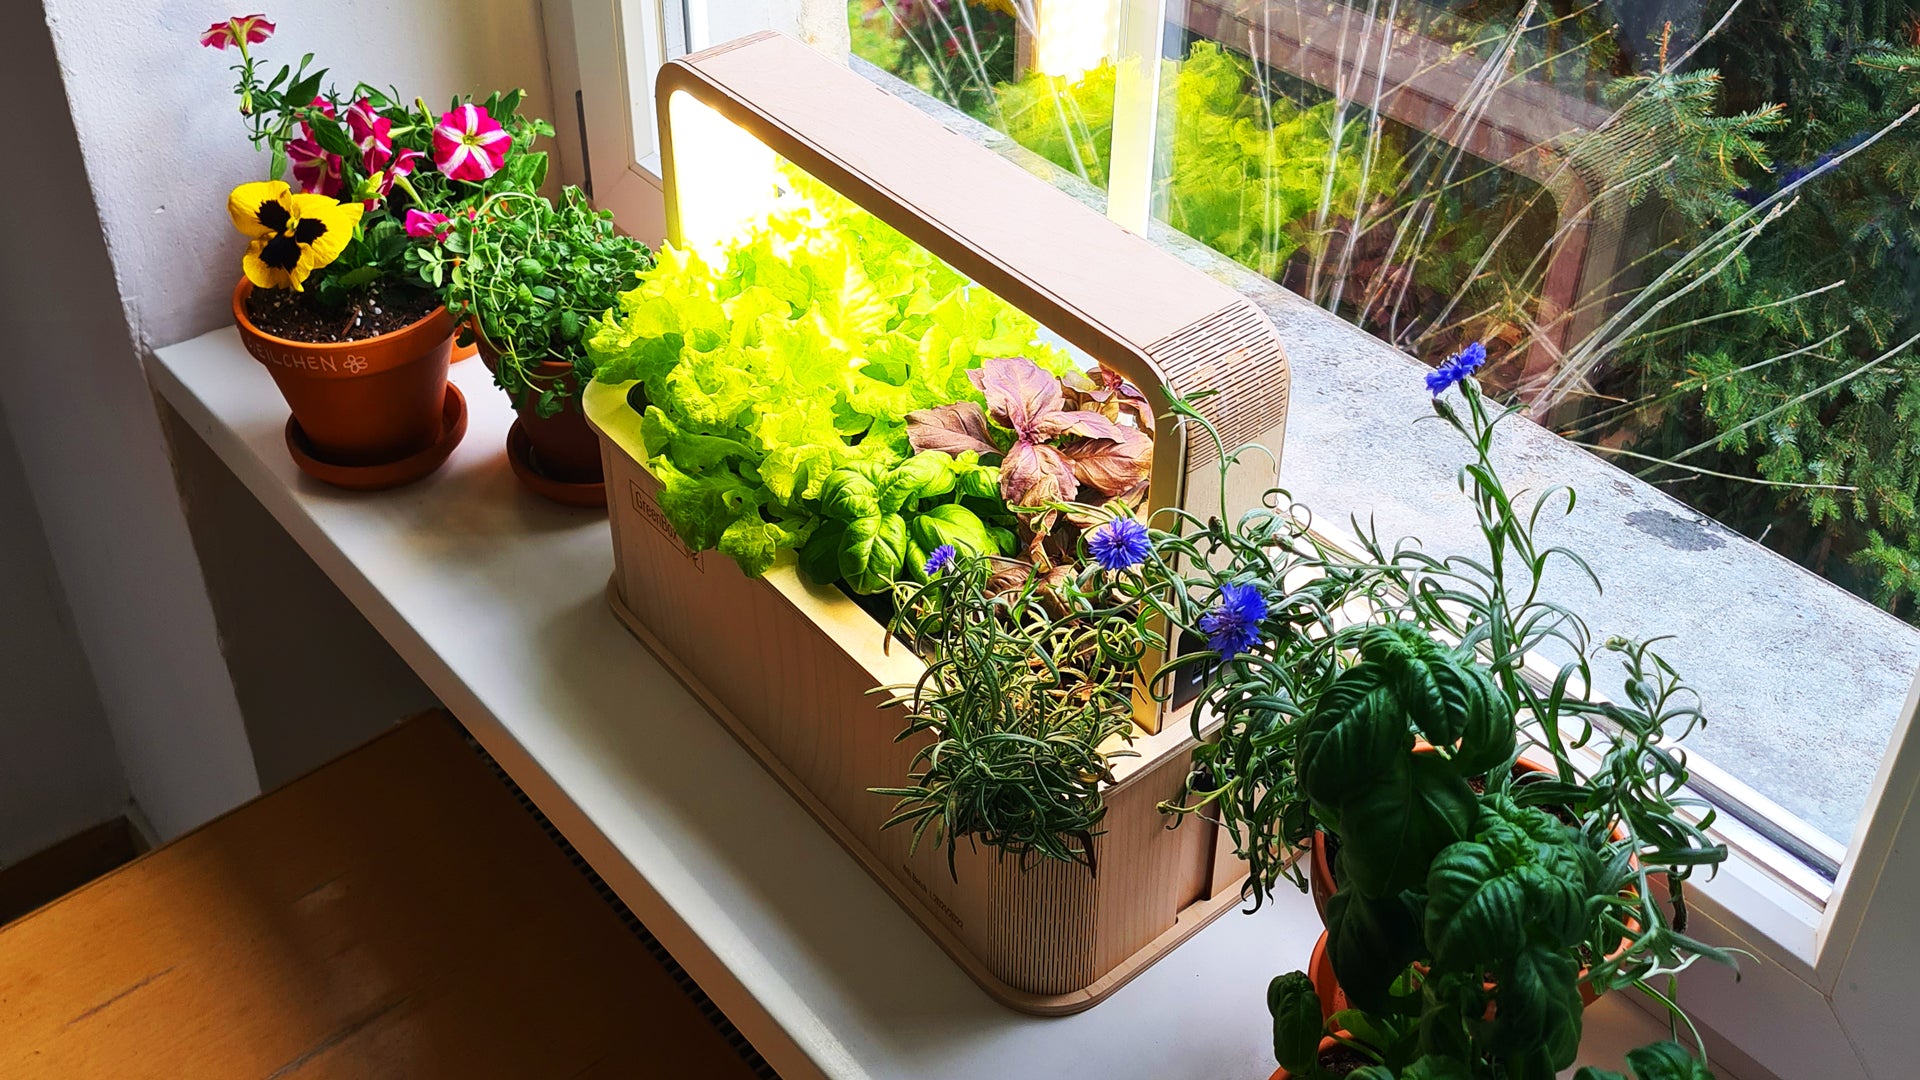
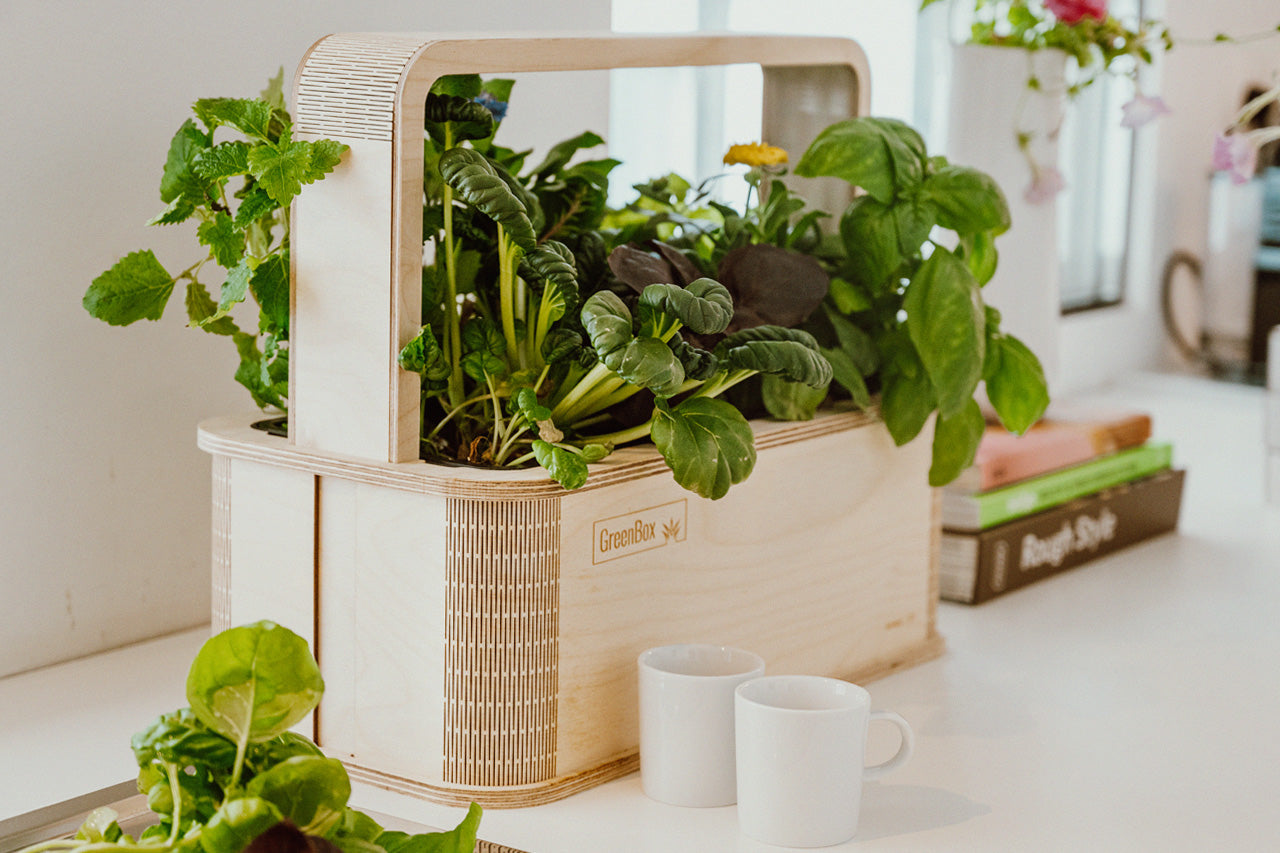
You finally have your own little garden at home, which not only trains your green fingers, but also gives you access to fresh and organic vegetables at all times. The day will come when the GreenBox app finally indicates that it's harvest time. And to make sure you do everything right, we explain in this article how to harvest your edible plants properly and thus help them to continue growing healthily and vigorously. So let the endless green fun begin!

The right time to harvest
The trained gardeners among you will certainly act on true intuition when harvesting.
The size and color of the plant usually indicate when it is ripe for harvesting. With fruits such as tomatoes, of course, this is easy for us. Here we are certain: the brighter the color, the riper the fruit. But what about culinary herbs or the various types of lettuce? Here too, the size and shape of the leaves tell us the right time to harvest. You just have to look a little closer.
A typical head of lettuce, for example, is ready for harvesting when it has many juicy green leaves that lie tightly together to form a compact head in several layers. If the leaves fall apart after harvesting, it was too early and the lettuce could not fully expand. Picking lettuce, on the other hand, tends to consist of loose leaves that grow at a distance from each other. Here, the size and above all the color tell you whether they are ready for harvesting. If they fall limp after a while, even though they were previously crisp and green, you have probably missed the moment and should harvest them quickly. The same rule applies to culinary herbs: the greener, the riper. It is particularly important to harvest basil, mint & Co regularly throughout the year so that the plant can develop fully and continue to grow. Of course, you should also pay attention to the individual growing conditions and harvest times of each plant variety. They give you a good orientation and ensure that the plants are edible when you eat them. Of course, our GreenBox takes the guesswork out of harvest time. Nevertheless, try to train your eye and observe the changes in the plants as they grow.

Pulling or cutting - how to harvest correctly
Harvesting is not only used to obtain edible plant parts - it is also essential for maintenance. Plucking or cutting the plants allows them to develop new shoots and leaves. But how can you tell whether a plant is plucked or cut and what exactly is removed during harvesting?
Whether the inhabitants of your GreenBox are cut or plucked can usually be recognized by the structure of the plant. Fruit and vegetable varieties such as tomatoes, chillies or strawberries, which bear clearly visible fruit, are simply plucked once the growth phase is complete. The harvesting method for lettuce can also be recognized by the arrangement of the leaves. Lettuce heads such as iceberg or romaine lettuce are cut off at the bottom of the main stem. The plant is harvested in its entirety and must grow back completely. With plucking lettuce, on the other hand, part of the leaves can be removed at any time. These even grow back continuously and you are constantly supplied with fresh lettuce. As the name suggests, the leaves are picked or plucked.
Most culinary herbs are also ideal for the plucking technique. As most of them have individual stems and leaves, you can easily pull them off and let them continue to grow. With herbs, the large juicy leaves are removed first. If you also want to harvest smaller leaves, you can even remove part of the stem. Of course, there are some exceptions to this rule, but these can also be seen from the shape of the plant. Chives, for example, should not be plucked if possible, as the stalks are directly connected to the plant substrate and can no longer continue to grow when fully harvested. Simply cut off the desired amount of chives at the bottom of the plant.

Longer enjoyment through repotting
In the garden and outdoors, plants usually have unlimited space and can spread endlessly both above and below the soil surface. In the soil, they also benefit from moisture and natural nutrients. The temperature also remains constant there, so the plants are provided with everything they need for healthy growth. By contrast, indoor plants are naturally severely restricted in terms of both their supply and space. If the roots of the plants get through the openings in the saucer or form a root network as a result, the plant substrate dries out more quickly and the plant is then dependent on an increased water supply. It is therefore high time to repot the plant in a larger pot. Plants that you have grown in your GreenBox can continue to grow there for as long as you like. However, if you fancy new plant varieties or would like to give your existing seeds more space, then you should also think about repotting. Here we show you in just a few steps what you need to bear in mind to prolong the enjoyment of your plants.
Step 1: Preparations
If you don't have anywhere outside where you can repot your plants, first spread some newspaper on the floor to avoid any major soiling.
If you want to repot plants that have already been in another pot in your home, we recommend watering the plant one hour before repotting. If the plant substrate is slightly damp, it will be easier to remove the plant from the pot. As the plants in your GreenBox are in a water tank, additional watering is not necessary here.
Now prepare the new pots by sprinkling fresh soil on the bottom of the pot. The height of the substrate at the bottom depends on the size of the plant. After repotting, it should sit in the same position as in its smaller pot, i.e. at the top of the pot rim. As our PlantPlugs are quite compact, you should therefore fill the larger pot generously with new soil so that the plants then sit quite high up.
Step 2: Removing the plant
Plants that were previously in a small pot can be easily removed. To do this, place your hand on the surface of the soil and carefully turn the pot over. If you have watered your plant beforehand as recommended above, it is super easy to remove and you can place it directly in the pot intended for it. For larger plants, you should first loosen the soil on the sides of the pot with a blunt knife. Then place it sideways on the ground and tap lightly on the saucer so that the plant substrate gradually detaches from the pot. The plant can now be pulled out. For really large and heavy plants, get someone to help you.
Step 3: New pot, new luck
Once you have placed the plants in their new pots, all you have to do is fill them with soil or other plant substrate and the repotting is complete. Please note that the plants should not be fertilized for the next four to six weeks. Give them the chance to settle into the fresh plant substrate first so that they can draw nutrients and take root on their own. Watering is even more important now!
The GreenBox offers you ideal conditions for a variety of plants, but unfortunately it cannot automatically harvest and repot them yet ;) So use these instructions to give your plants a long life and provide you with fresh edible plants at home in the long term. Have you just repotted successfully? Then it's time for new roommates. Discover our variety of plants in our online shopnow!